This guide is based on the installation of a retrofit solar PV system on a domestic property and includes all the constituent parts that are typically completed. There are of course variances depending on the property and for more complex commercial installations some additions to the process are necessary. Certain parts of the process may not be required if you are having a free solar panel installation, but on the whole most installations are very similar.
For further information on the complete solar PV process offered by Sustain click here.
Our Solar Team
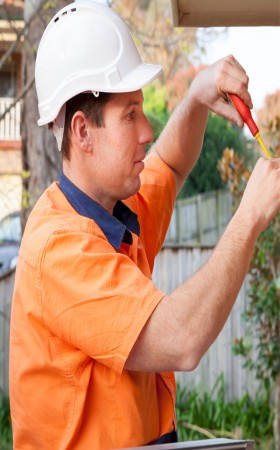
The installation team consists of usually four members including a project manager, two roofers and an electrician. Each team is constructed carefully to include the skills required and the necessary areas of expertise. The installation project manager is primarily responsible for making sure the solar PV project is completed on time and with the high-level Sustain service standards. The project manager is also on hand to answer any questions you have and explain the system in more detail.

Installation Time
The vast majority of solar PV installations are completed within one to two days, but some may take slightly longer if the installation is more complicated. In instances where the roof requires precise work and more attention to detail, such as slate or rosemary tile roofs, the installation will take longer. As part of the surveying process prior to the installation we will be able to understand whether the project is likely to take longer and will give you appropriate indications to ensure you are correctly informed.
What do our clients need to do?
All that you are required to do is give us access to all the spaces we’ll need to install equipment in the property and this includes both the interior and exterior. We’ll obviously need to use the electricity supply as well as have access to the loft and where the consumer unit is located. We try our hardest to keep disruption to an absolute minimum and our solar team will tidy up before they leave your property.
Prior To Installation
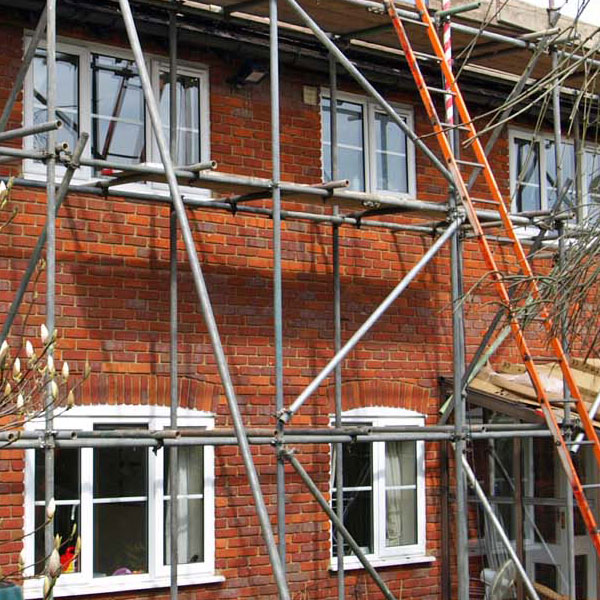
As part of the preparations for your solar PV installation, a survey will be completed to ensure we have accurate information on your property. Two days prior to the installation date, scaffolding will be erected so the installation team can proceed with a fast and efficient installation and to avoid disruption.

Solar Panels
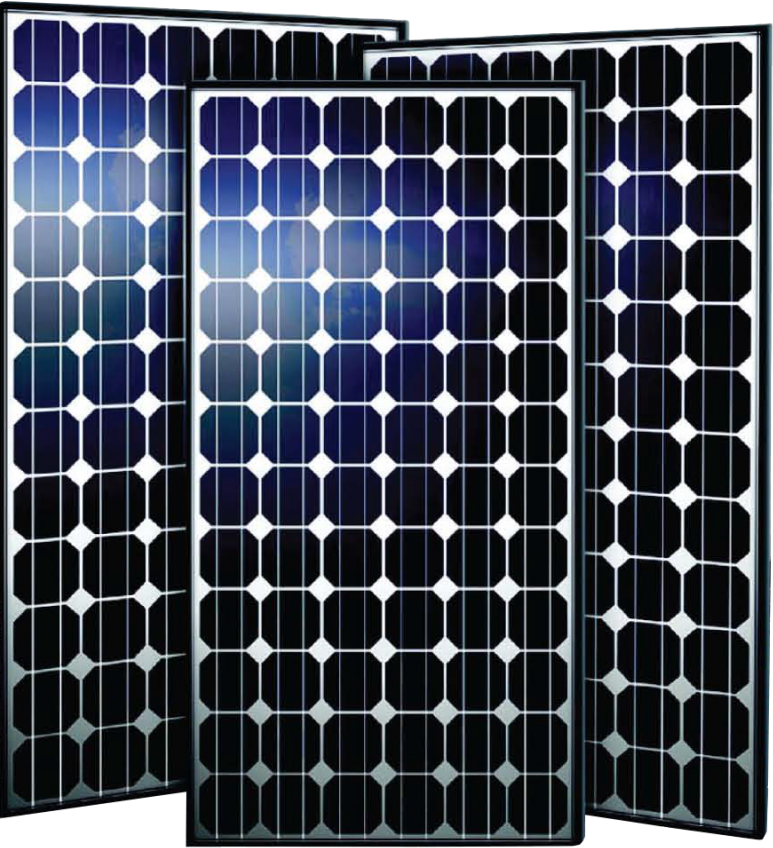
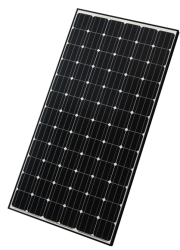
All of the solar panels used by Sustain in the installation process are constructed of individual solar cells and deliver exceptional efficiencies to maximise your return on investment. Depending on the specification of the panel and the manufacturer, the weight typically varies between 15 and 30kg.
We use a range of solar panels from microgeneration certified suppliers and this typically includes Trina Solar, Hanwha Solar, ZNShine and CSUN solar. See further information on the solar technologies used by Sustain and compare solar panels.
Roof Anchors
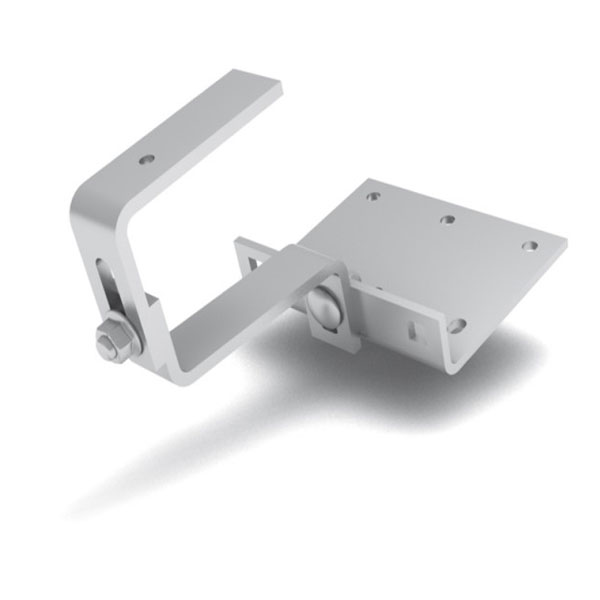
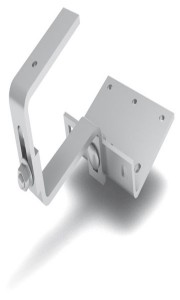
The roof anchors are stainless steel hooks that are securely screwed into the rafters of your roof and they function as the base for mounting the solar PV system. You will not see the roof anchors when the solar panels have been fixed in place but they are a crucial part of the solar PV system to ensure safety and smooth operations.
The type of roof anchor that Sustain use is predominantly based on the type of roof and the tiles that are currently in place. Different tiles, such as slates, rosemary and concrete tiles will require different anchors and we will of course specify the correct solution following a detailed property survey. Our in house technical advisers based at our head office will also ensure that the correct equipment is specified for your property.
Mounting Frame
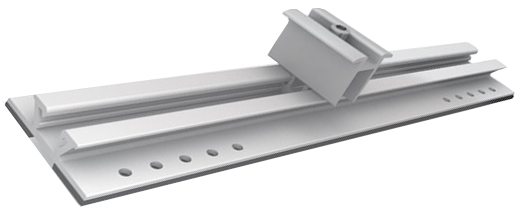
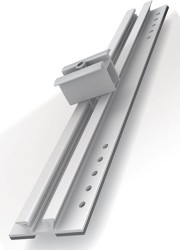
The mounting frame for the solar PV installation is constructed of two parallel aluminium bars or rails for each row of panels. The rails are carefully attached to the roof anchors. To ensure there is no movement with the rails a specially engineered locking system is in place. The panels are mounted on top of the rails and subsequently they are attached by clamps.
There are some options when choosing the right railing system for your solar PV installation, including alternatives for black rails if you have all-black panels or panels with a black frame.
Clamps
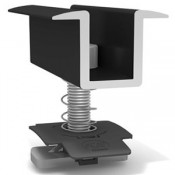
Clamps are a vital part of the installation process and are required to hold the panels on the frame. There are end-clamps and mid-clamps. End-clamps are for the end of a row of panels so the last panel can be fitted securely in place. Mid-clamps are located between two panels and are equally spaced, typically around 200mm apart.
Your solar PV installation can typically be split into eight specific steps:
1. Scaffolding Erection
A crucial part of the installation process is the erection of scaffolding and this will be erected two days before the installation to make sure there is plenty of time for our installers to complete the job safely and to your specifications. Unlike numerous other solar PV installers, we are upfront about the scaffolding costs within our quotations, so you know exactly where you stand.
The scaffolding is an essential part of the process and is a working platform for our roofers to complete all the necessary installation work on your roof. Scaffolding is always required no matter how high or low the roof is because it is essential that the installers safety is prioritised.
We will carefully assess the measurements noted during your property survey and mark the correct locations on the roof for where the panels will be installed.
The roof anchors shall be securely fastened to the rafters and we will obviously assess where the rafters are located in relation to the existing roof tiles. We’ll position the anchors in their intended position on top of the tiles, before making a final check of the measurements to make sure the frame will sit in place correctly.
As has been mentioned above the anchors to be used are dependent on the structure of the roof and the tiles. Each anchor has a different installation method, so we will use this knowledge to ensure an effective installation at your property.
With the bars securely installed in place, the panels need to be clamped to the frame. Depending on the circumstances and how the roof is constructed, we may install the solar PV panels by row or by column. As well as continually measuring our progress, we’ll check that the panels look straight and are symmetrical. We will not only assess the panels from our position on the scaffolding, but we will check how they appear from the ground as well.
It may sound surprising, but many roofs are rarely perfectly straight. The ridge, the eaves and the ground are not always guaranteed to run perfectly parallel to each other. PV installations always look more aesthetically pleasing when the panels run parallel to the edge that is nearest them and this is typically the eaves. We are acutely aware that the aesthetics of the solar PV installation are the next most important aspect to the performance of the system and will work hard to deliver a solar PV system that looks good on your property.
The solar PV Panels are already wired by the manufacturer, so the connection process is fairly consistent. The exact way in which we connect the system though is often based on the voltage, amperage and power, as well the panels position on the roof and any relevant shading. We also ensure that the wires connecting the panels are not on the roof tiles and attach the cables to the rails that the panels are clamped to.
6. Wiring The Panels To The Inverter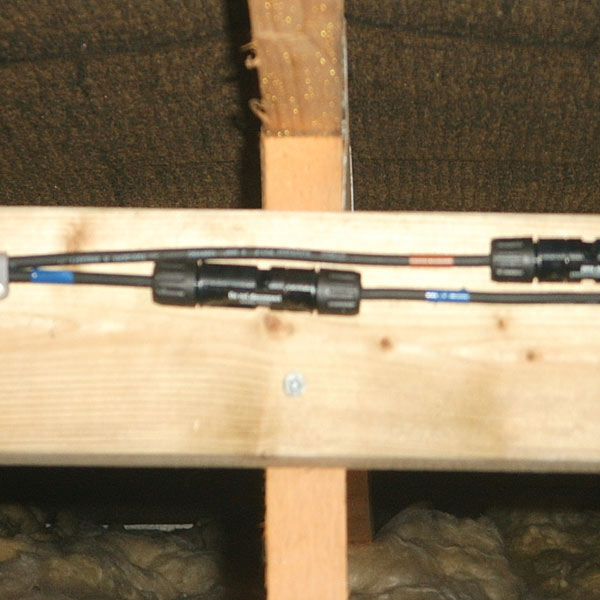
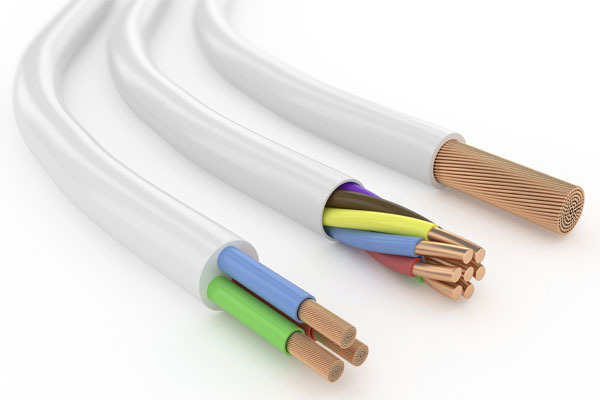
With the panels on the roof, the system needs to be connected to the inverter inside the property. Direct current (DC) wiring is fed from the panels into your property. The electrician will work diligently to conceal as much of the wiring as possible by routing the cable into the loft space under the panels.
The DC wiring is fed into the loft under the tiles, with a protective sleeve which aims to stop the tiles from ever damaging the wires over time. For slate roofs, we may drill a small hole in the slate to feed the cables through. The DC wiring leads to the inverter, which is typically installed in the loft space.
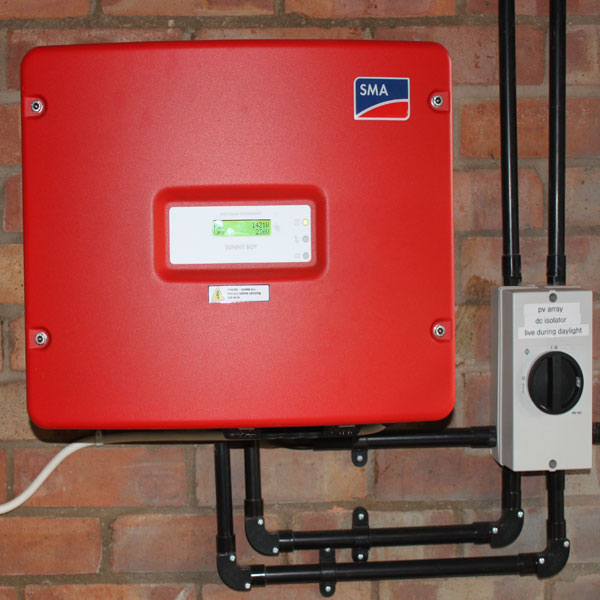
While all the work is completed on the roof, the electrician will be working hard on the installation of the inverter and connecting it to the properties electricity supply. The inverter will be mounted in the location as per the specifications and isolators will also be installed close to the inverter ready for alternating-current electricity to be distributed throughout the property. Remember, the inverter is in place to convert direct-current electricity into alternating-current for use in the property. See further information on how solar panels work.
Before the system is finally connected and ready for use, we may need to install a modern consumer unit (fuseboard) if one is currently not in place. If there is a new consumer unit in place, it may be possible to utilise spare space within this unit to connect the solar PV system. We will have to install a generation meter next to your existing consumer unit, which connects to the existing supply. The power within the property will need to be turned off for approximately half an hour, for this final part of the connection process.
When the wiring and connections are complete, the project manager will switch on the inverter and power up the system. We do various checks in relation to voltage to ensure the expected performance and confirm the solar PV system is performing to the correct standard. When the on-site solar PV team are happy with the final installation, head office will apply for your MCS certificate, which is required to receive the feed in tariff.
For further details on the exact service process offered by Sustain for our solar PV installations click here.
